I just studied your last image in more detail and found out that you tried to compile the src/c_examples/pruss_toggle.c code. It compiles, but doesn’t link
/usr/bin/ld: cannot find -libpruio
This will be fixed once you execute
sudo ldconfig
and even in that case the executable wouldn’t run, since the uio_pruss driver is not loaded on your system
In order to give some hints here, I need to know your kernel version.
And:
you started an out-of-source build. Why not continue? Execute
make pruss_toggle_c
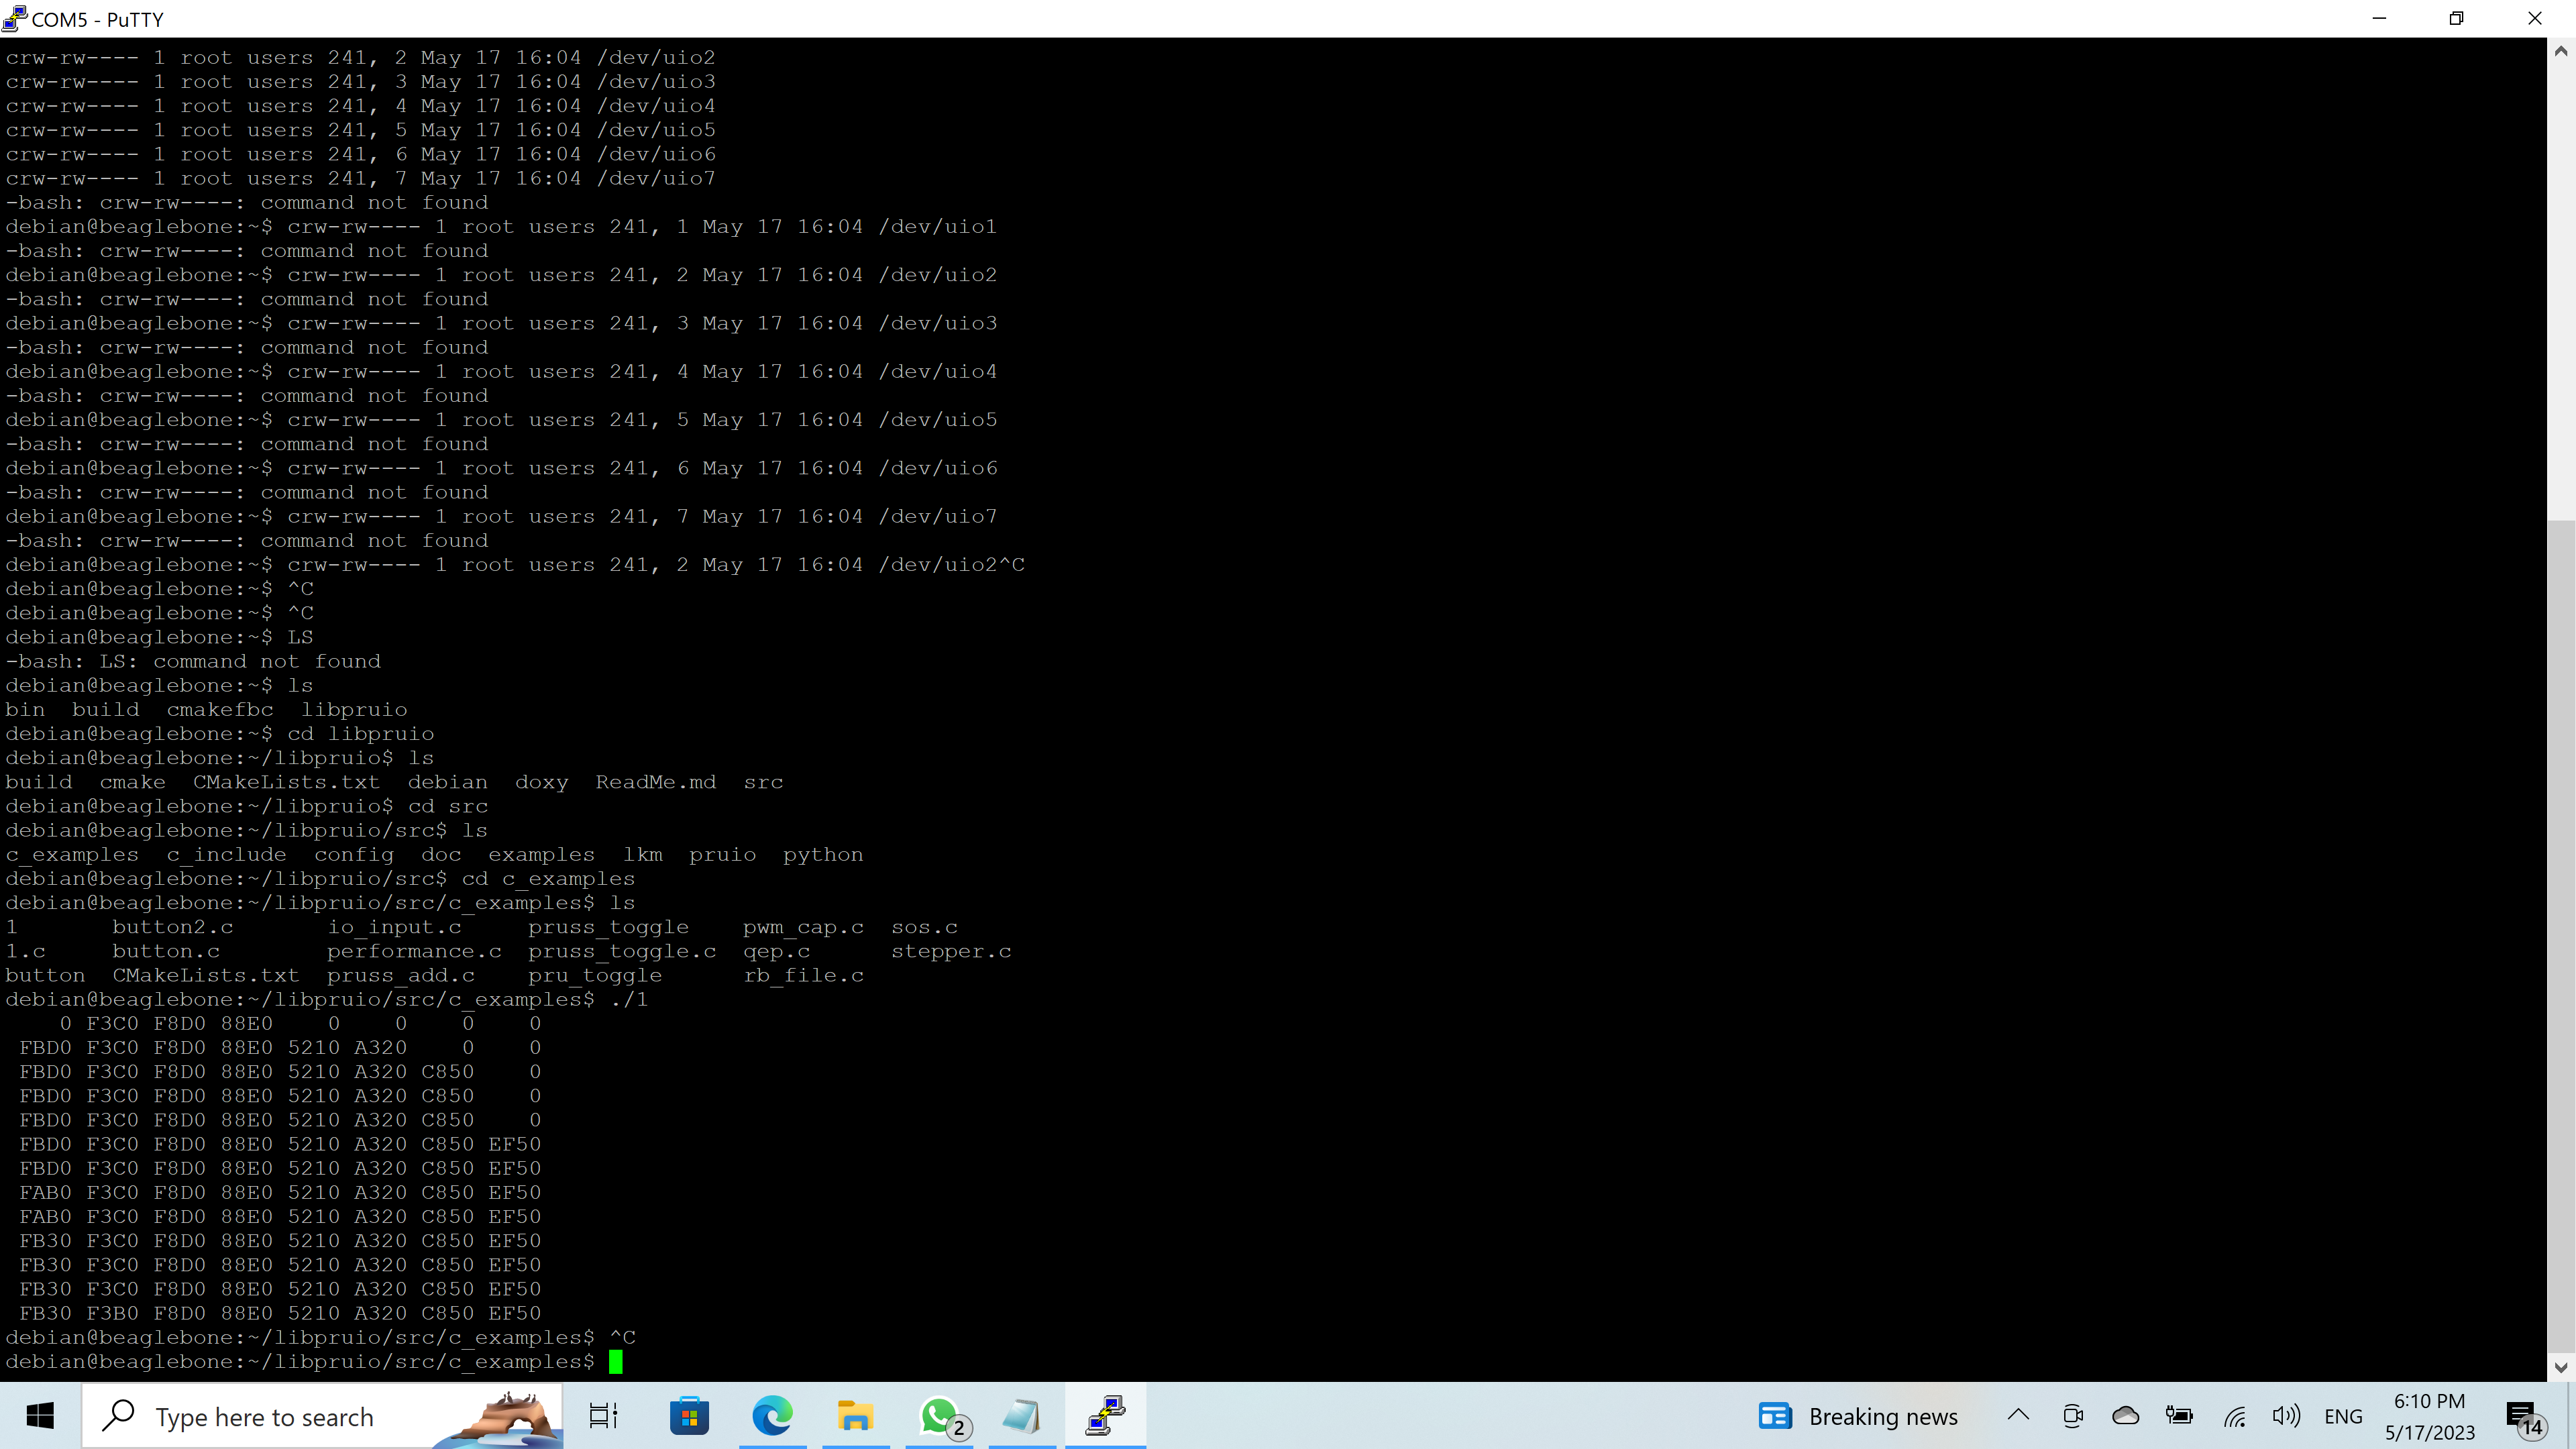
in the build folder and find the resulting executable at src/c_examples/pruss_toggle_c. Note: that example needs pinmuxing, it’ best to build and install the lkm first.
Perhaps you want to start with more easy examples (ie 1 or analyse), and care about pinmuxing later.
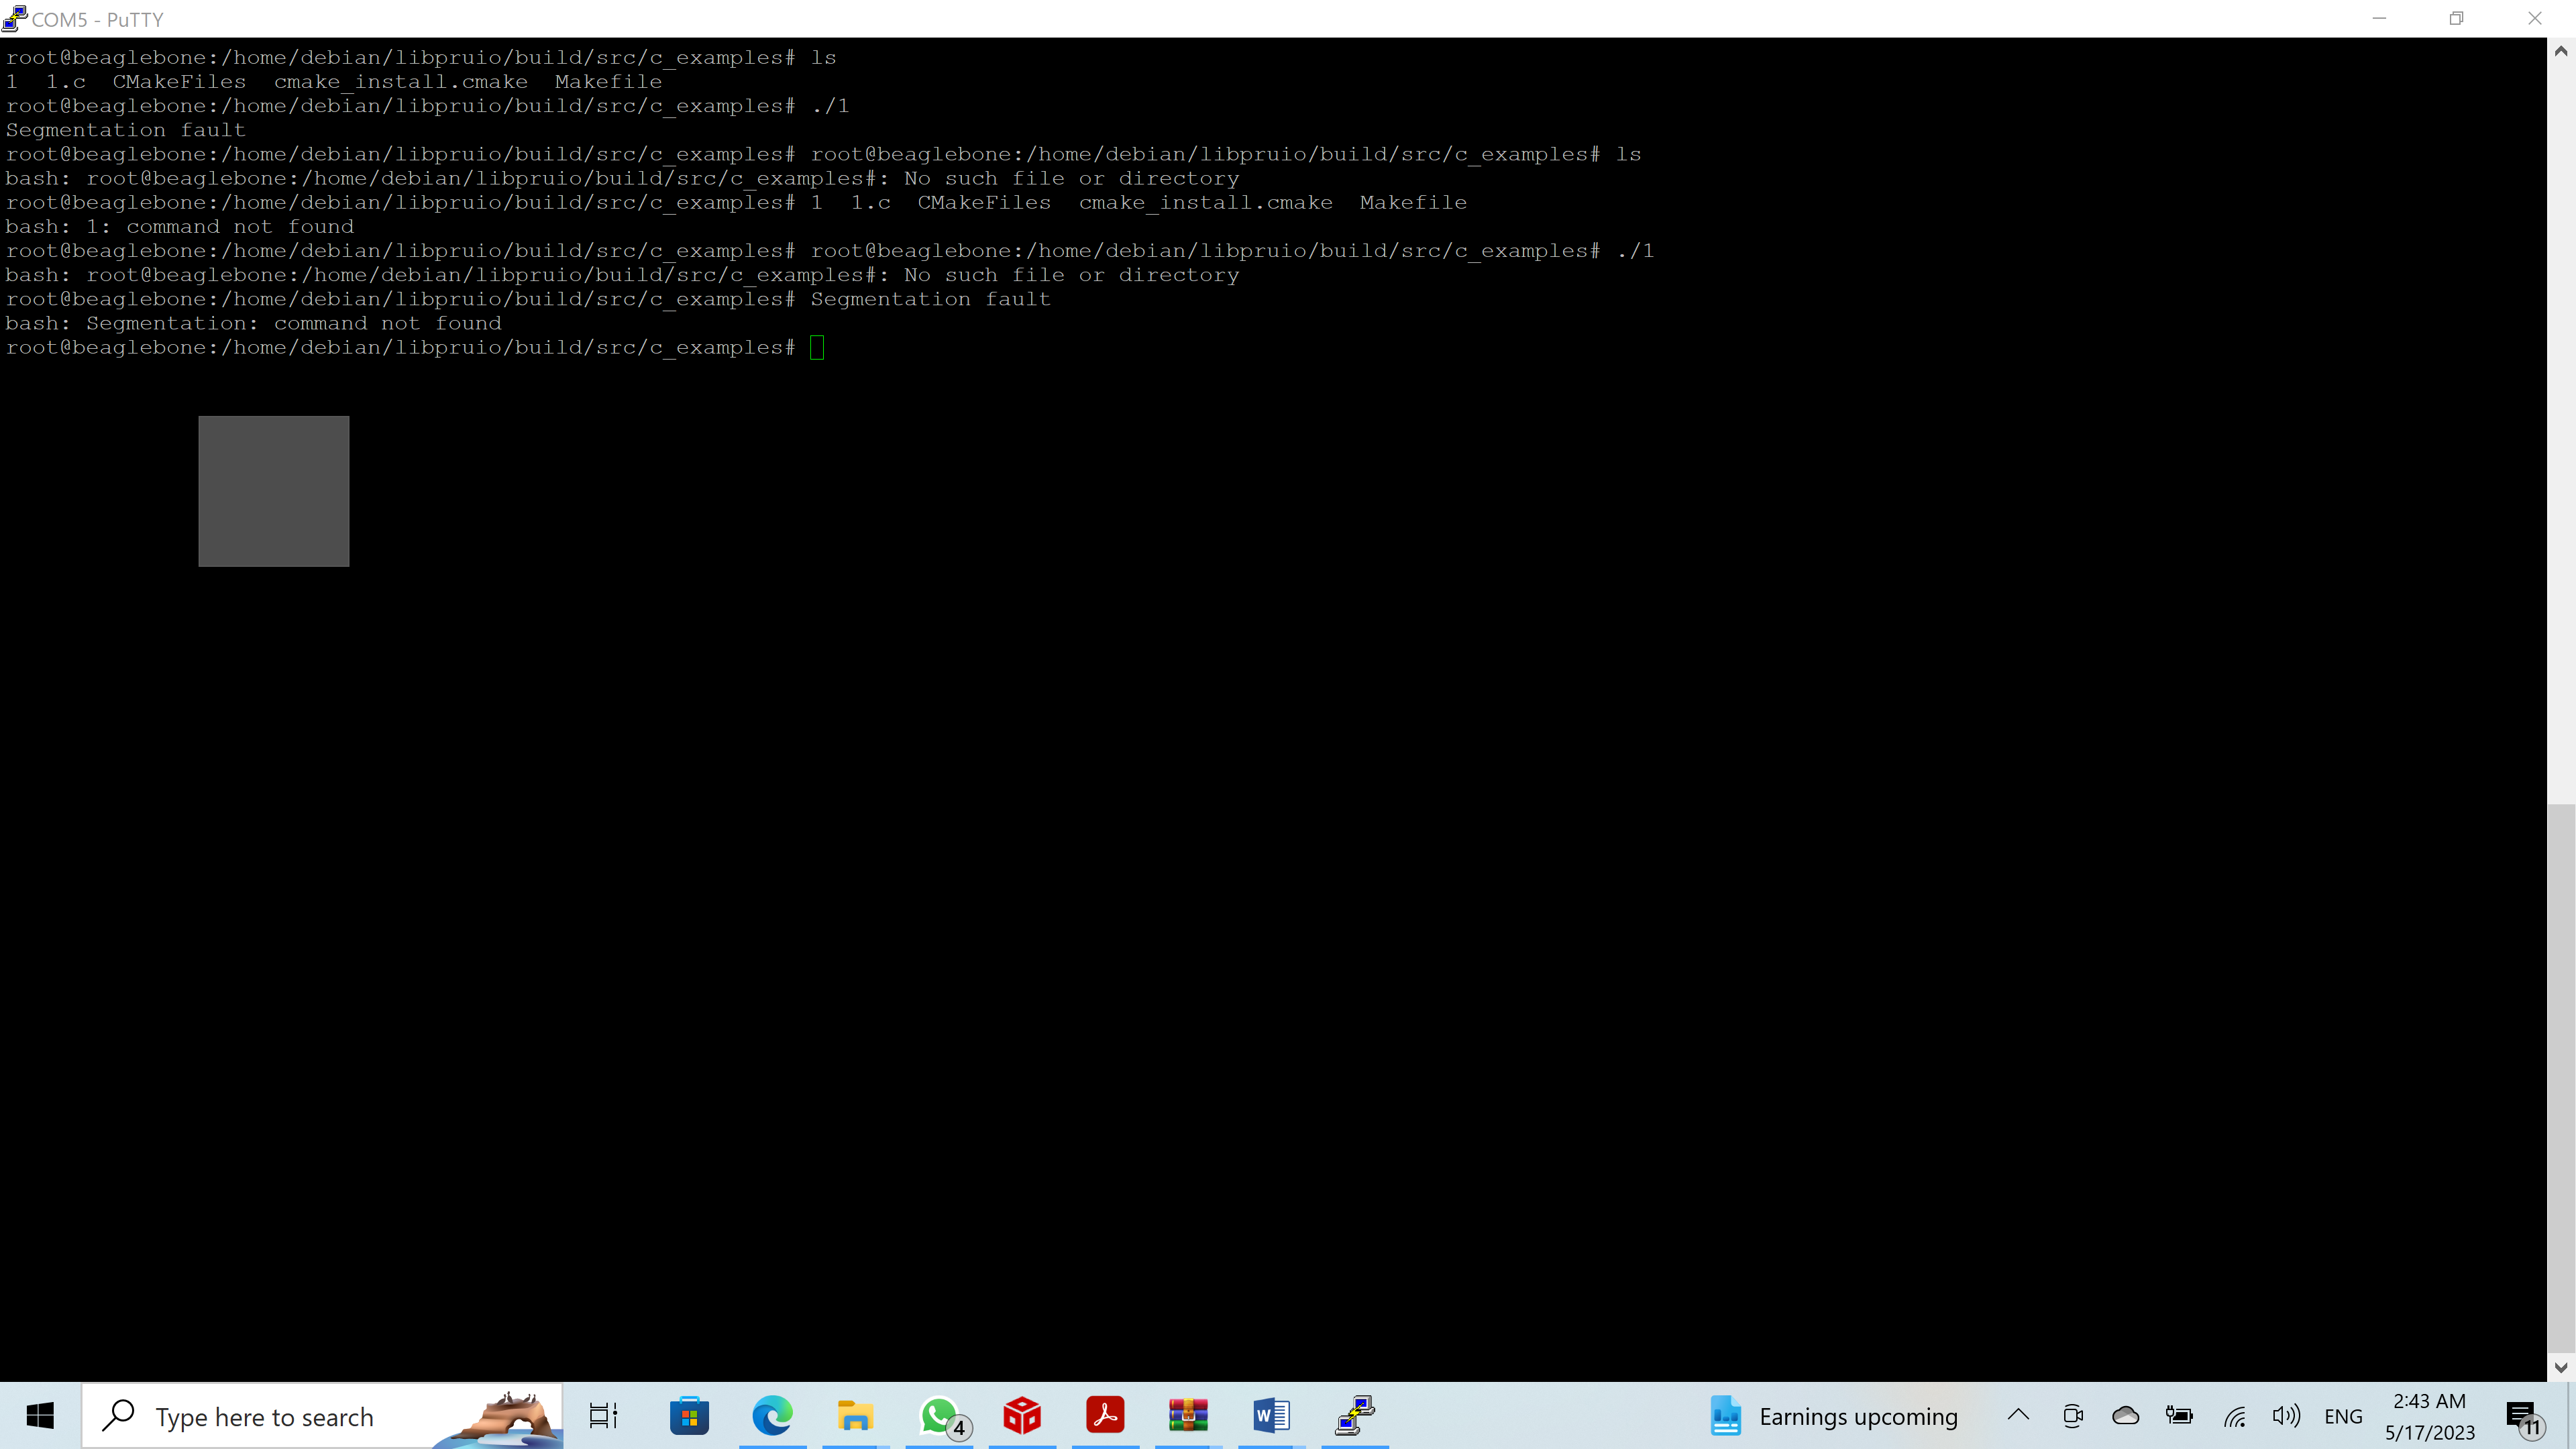
Well my friend I was trying the first example 1.c but gave this error:
root@beaglebone:/home/debian/libpruio/build/src/c_examples# ls
1 1.c CMakeFiles cmake_install.cmake Makefile
root@beaglebone:/home/debian/libpruio/build/src/c_examples# ./1
Segmentation fault
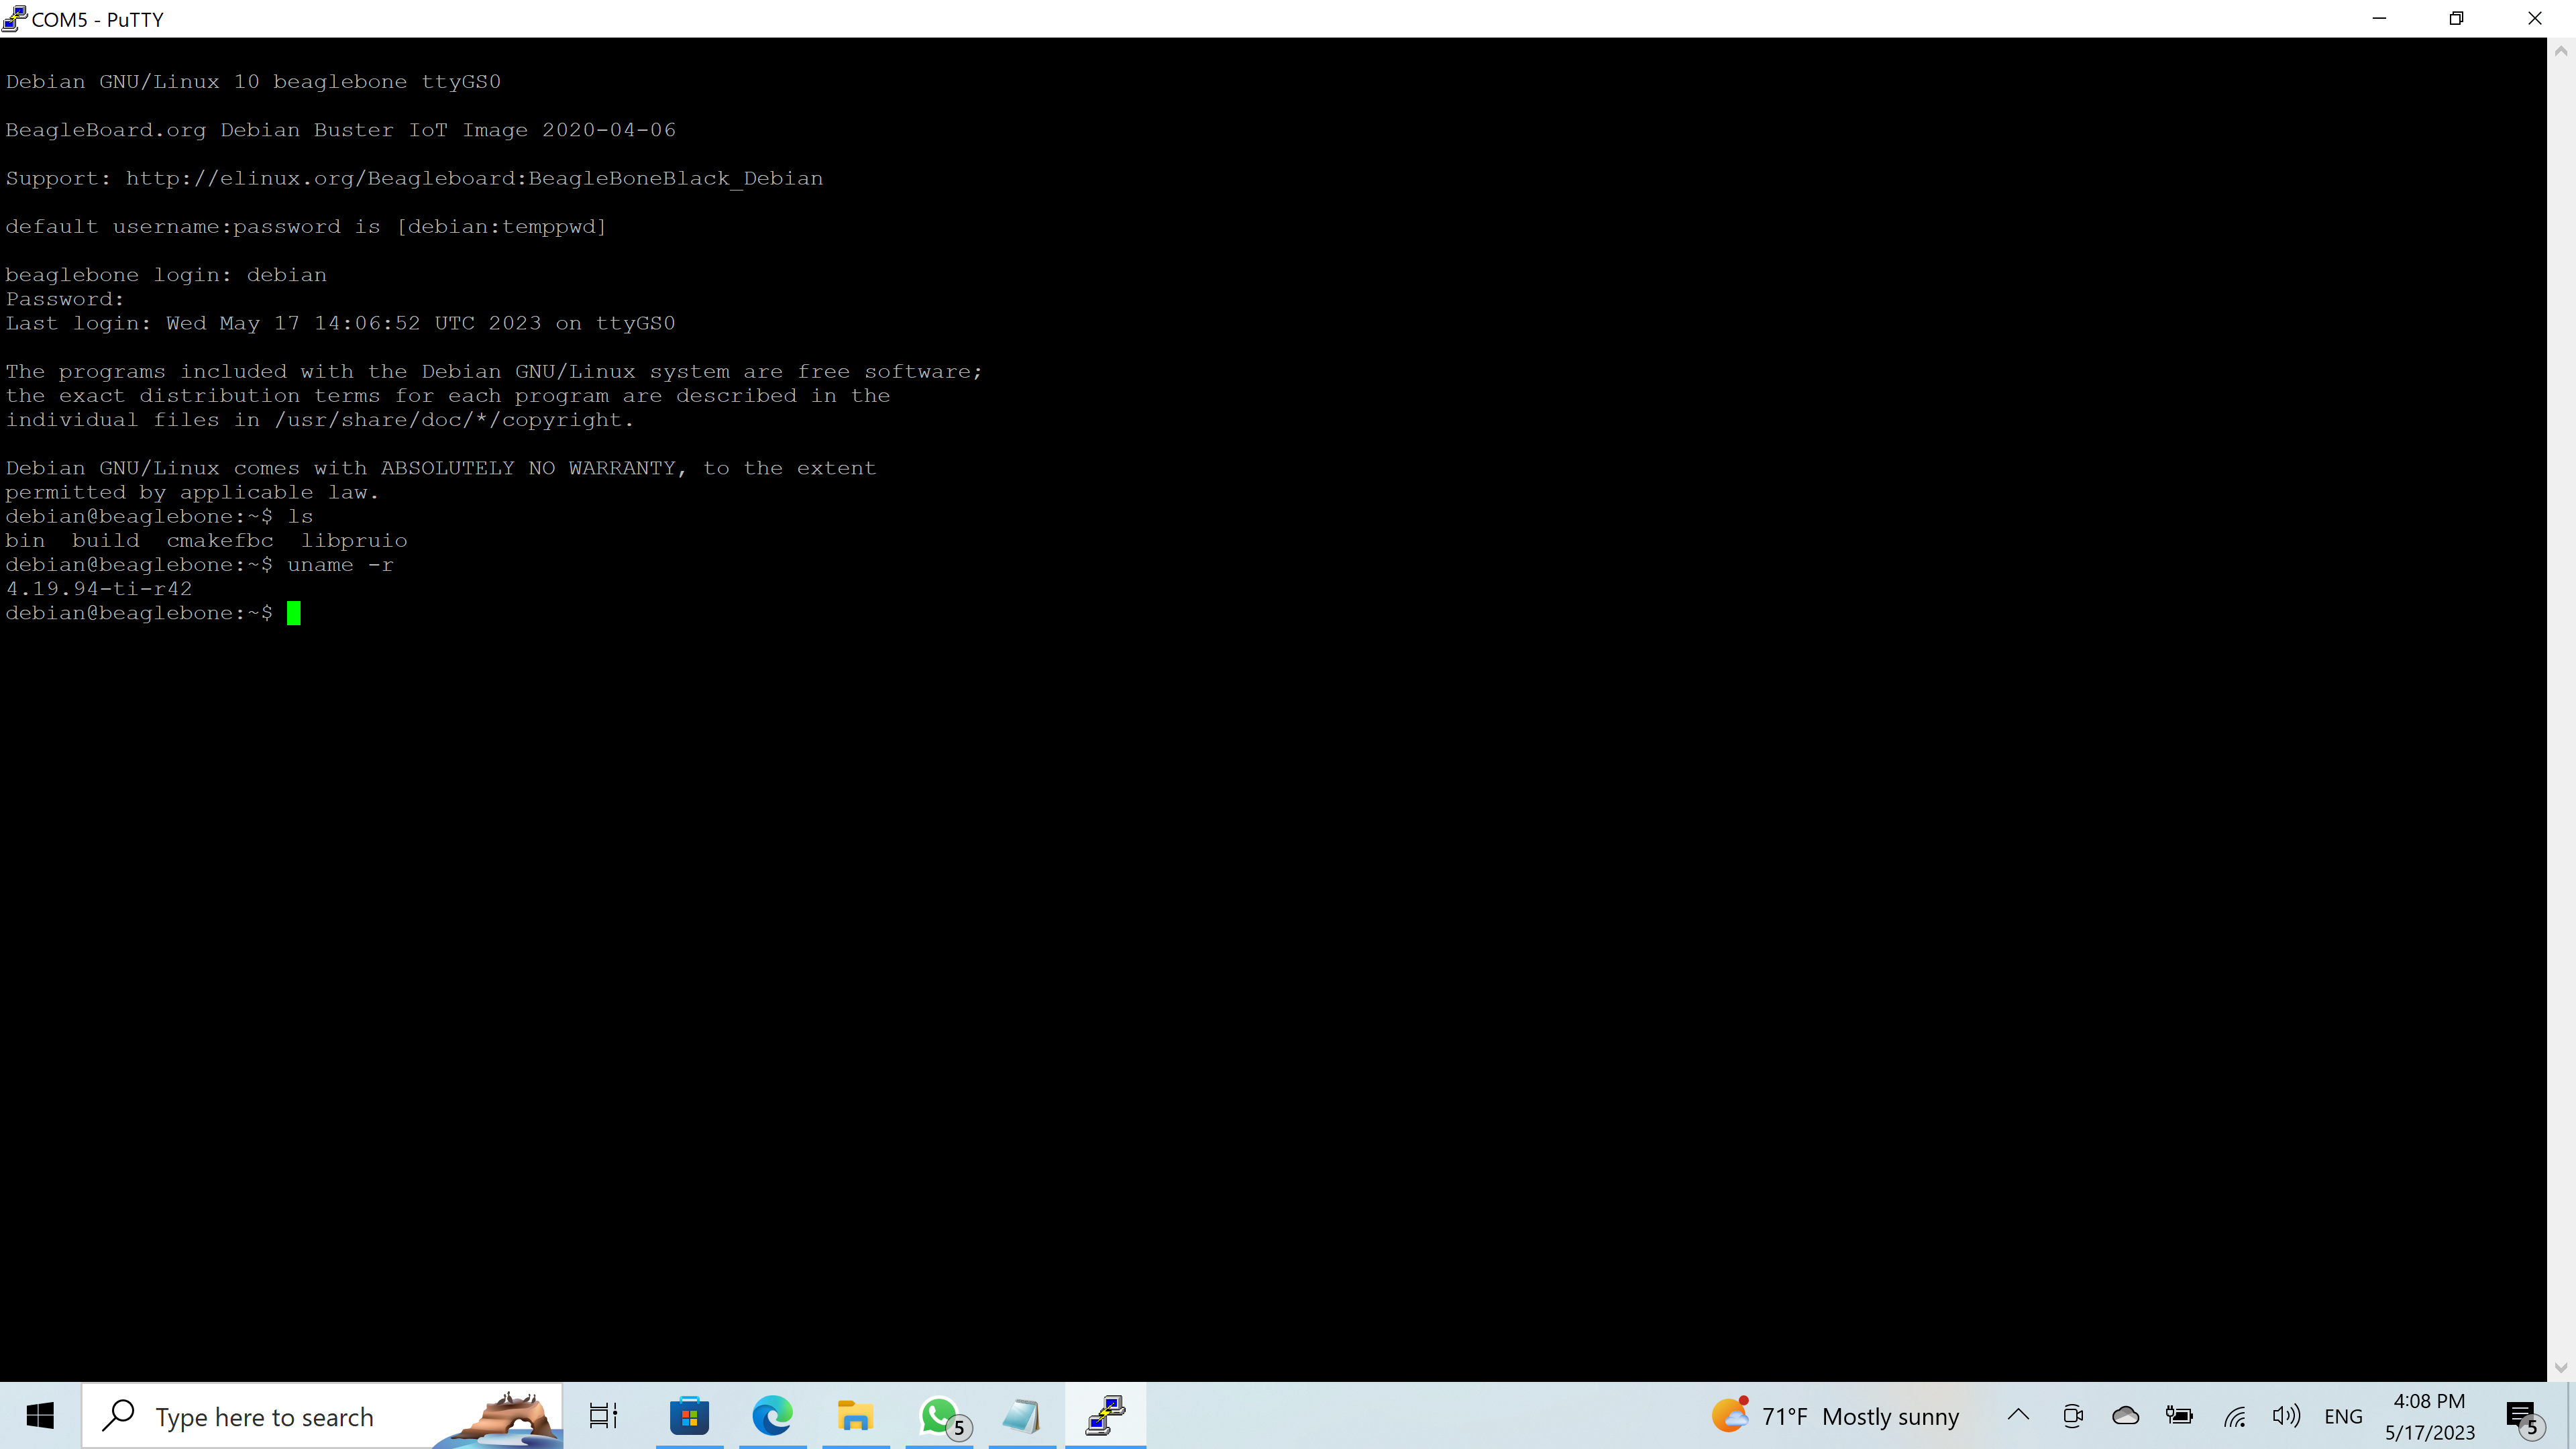
I did the following the commands:
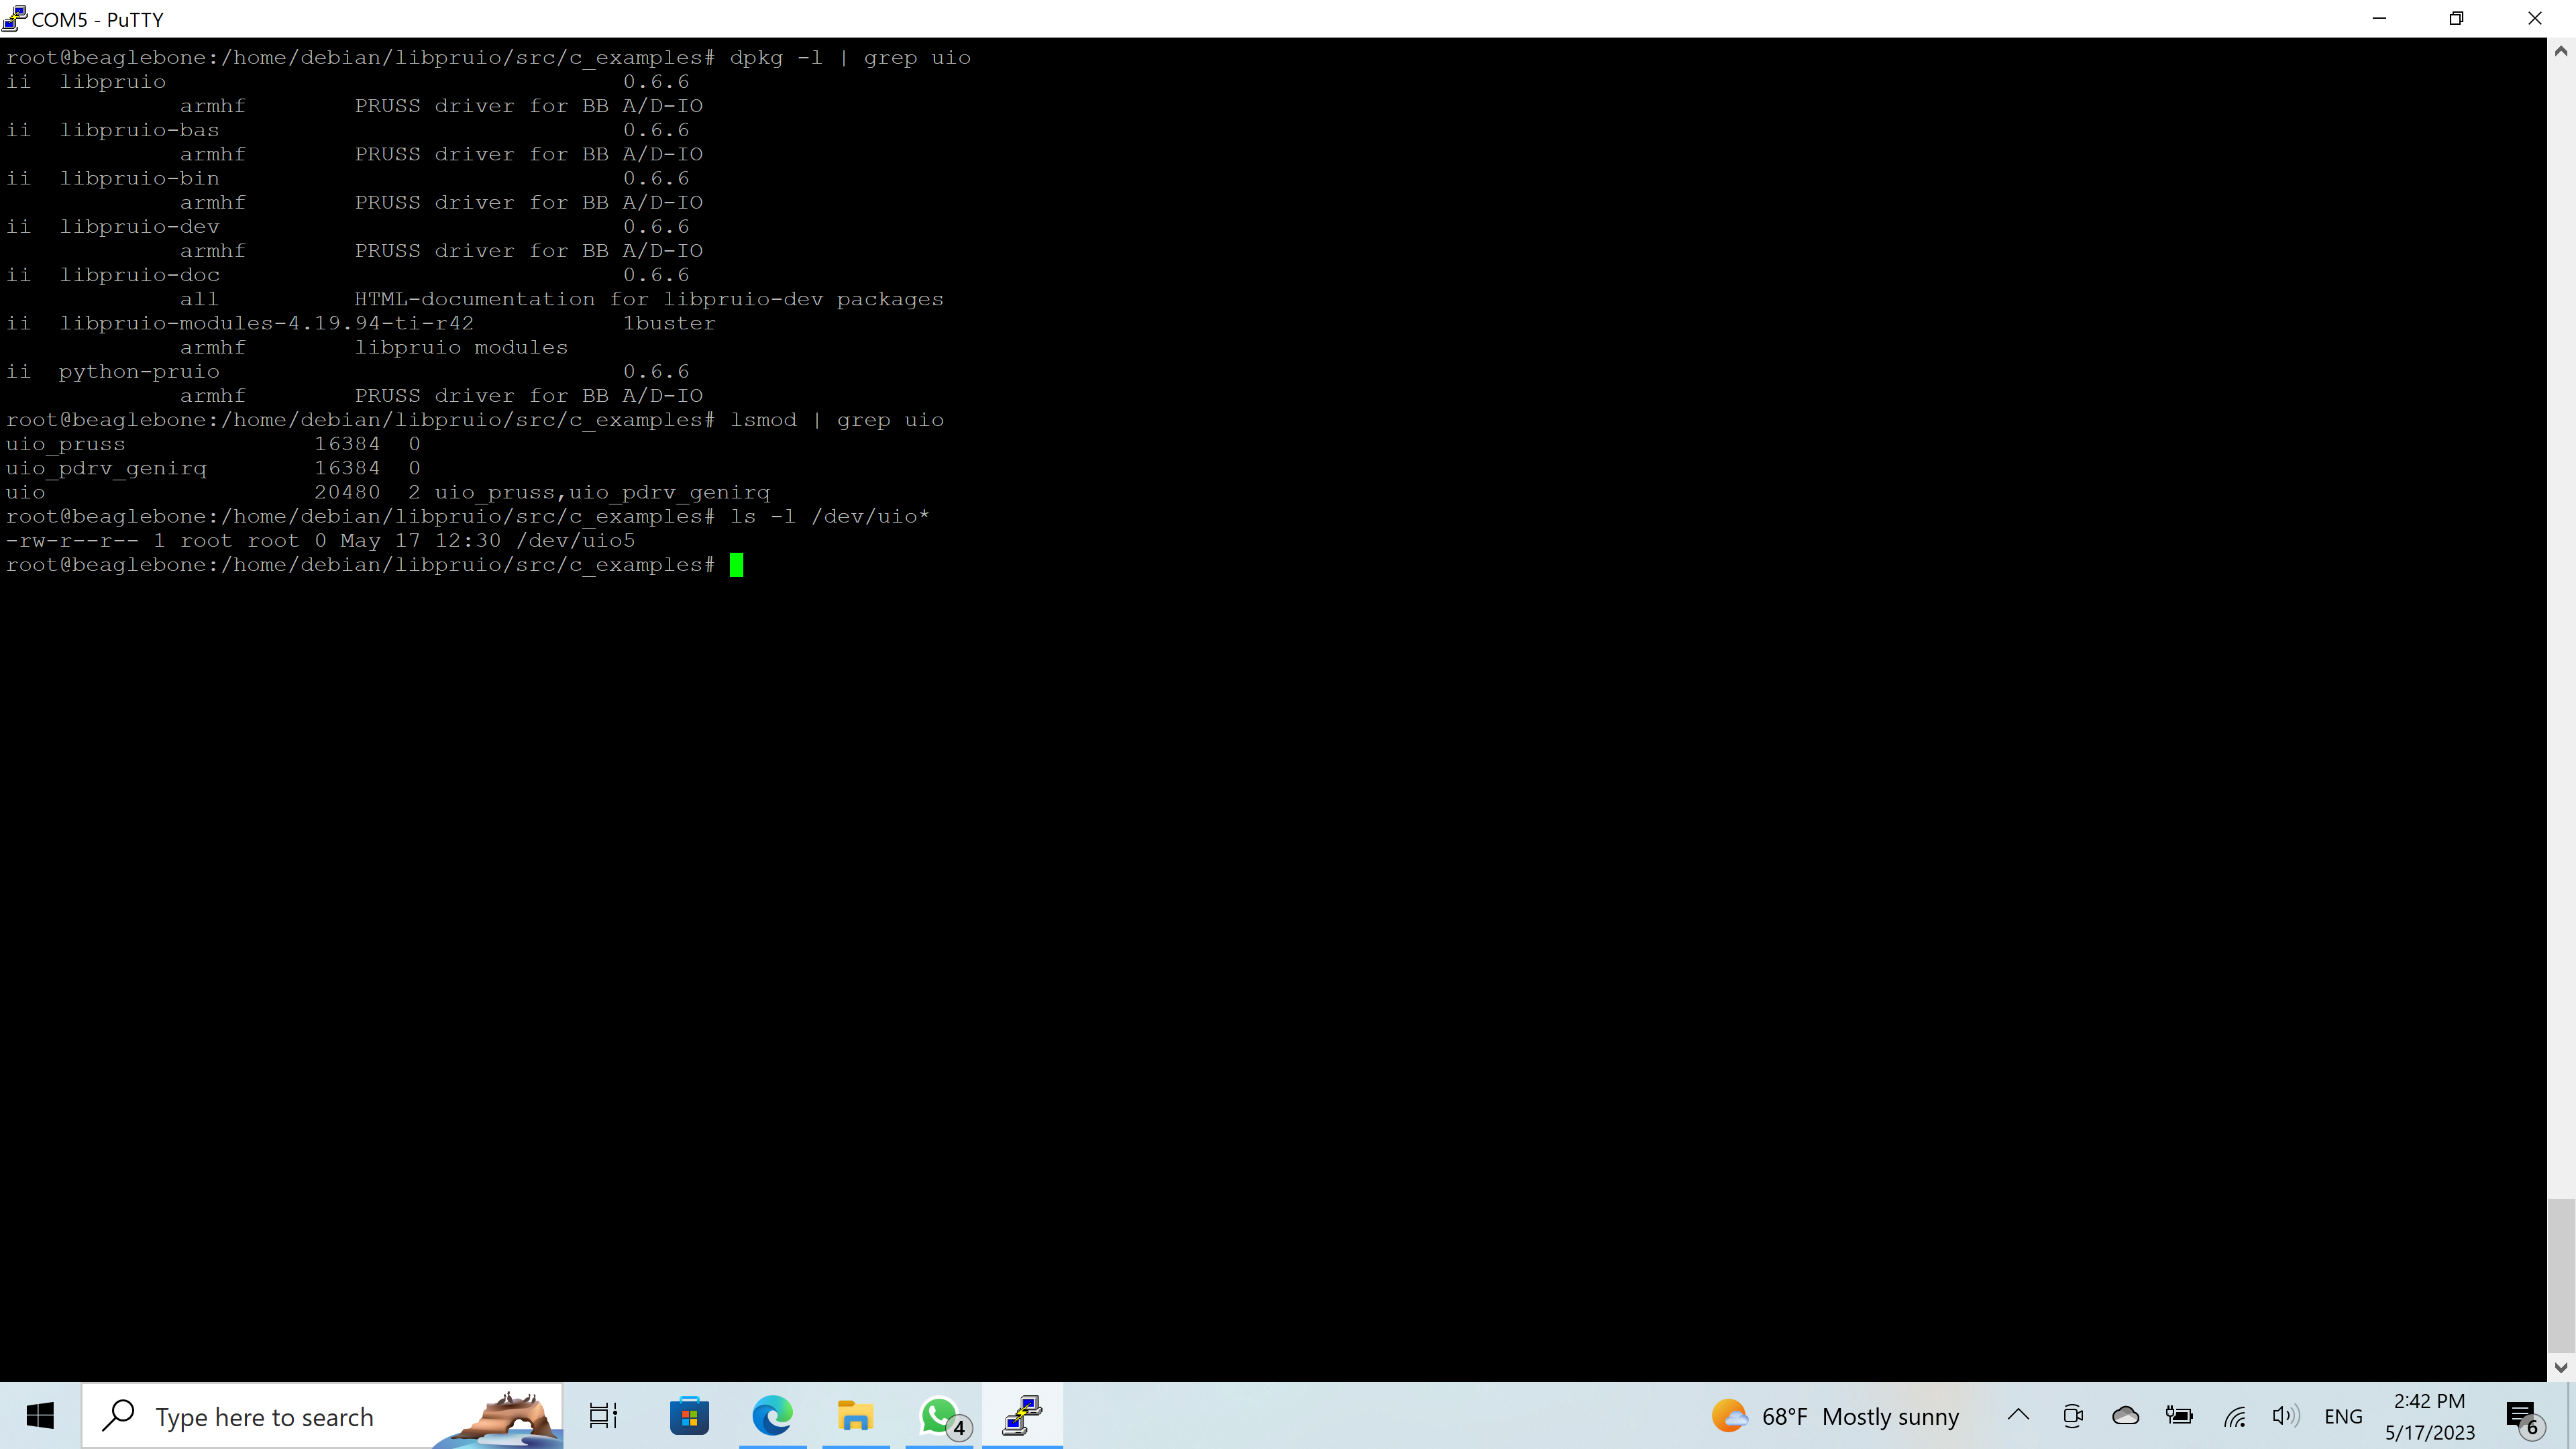
root@beaglebone:/home/debian/libpruio/src/c_examples# dpkg -l | grep uio
ii libpruio 0.6.6 armhf PRUSS driver for BB A/D-IO
ii libpruio-bas 0.6.6 armhf PRUSS driver for BB A/D-IO
ii libpruio-bin 0.6.6 armhf PRUSS driver for BB A/D-IO
ii libpruio-dev 0.6.6 armhf PRUSS driver for BB A/D-IO
ii libpruio-doc 0.6.6 all HTML-documentation for libpruio-dev packages
ii libpruio-modules-4.19.94-ti-r42 1buster armhf libpruio modules
ii python-pruio 0.6.6 armhf PRUSS driver for BB A/D-IO
root@beaglebone:/home/debian/libpruio/src/c_examples# lsmod | grep uio
uio_pruss 16384 0
uio_pdrv_genirq 16384 0
uio 20480 2 uio_pruss,uio_pdrv_genirq
root@beaglebone:/home/debian/libpruio/src/c_examples# ls -l /dev/uio*
-rw-r–r-- 1 root root 0 May 17 12:30 /dev/uio5
root@beaglebone:/home/debian/libpruio/src/c_examples#
That’s fine. (Here I run libpruio on exactly that version.)
Please post the output from dmesg grep uio.
Regards
PS
You’re running in to a further issue: the libpruio-0-6-6.deb package installed a binary in /usr/lib and executed ldconfig for that binary. Now you’re working in the source tree and installed a second binary in /usr/local/lib. The linker won’t find that binary (and all its customization). Instead the linker binds all compiled executable against the (unchanged) /usr/lib/libpruio.so binary.
So it’s good to make your mind: either packages or building from source.
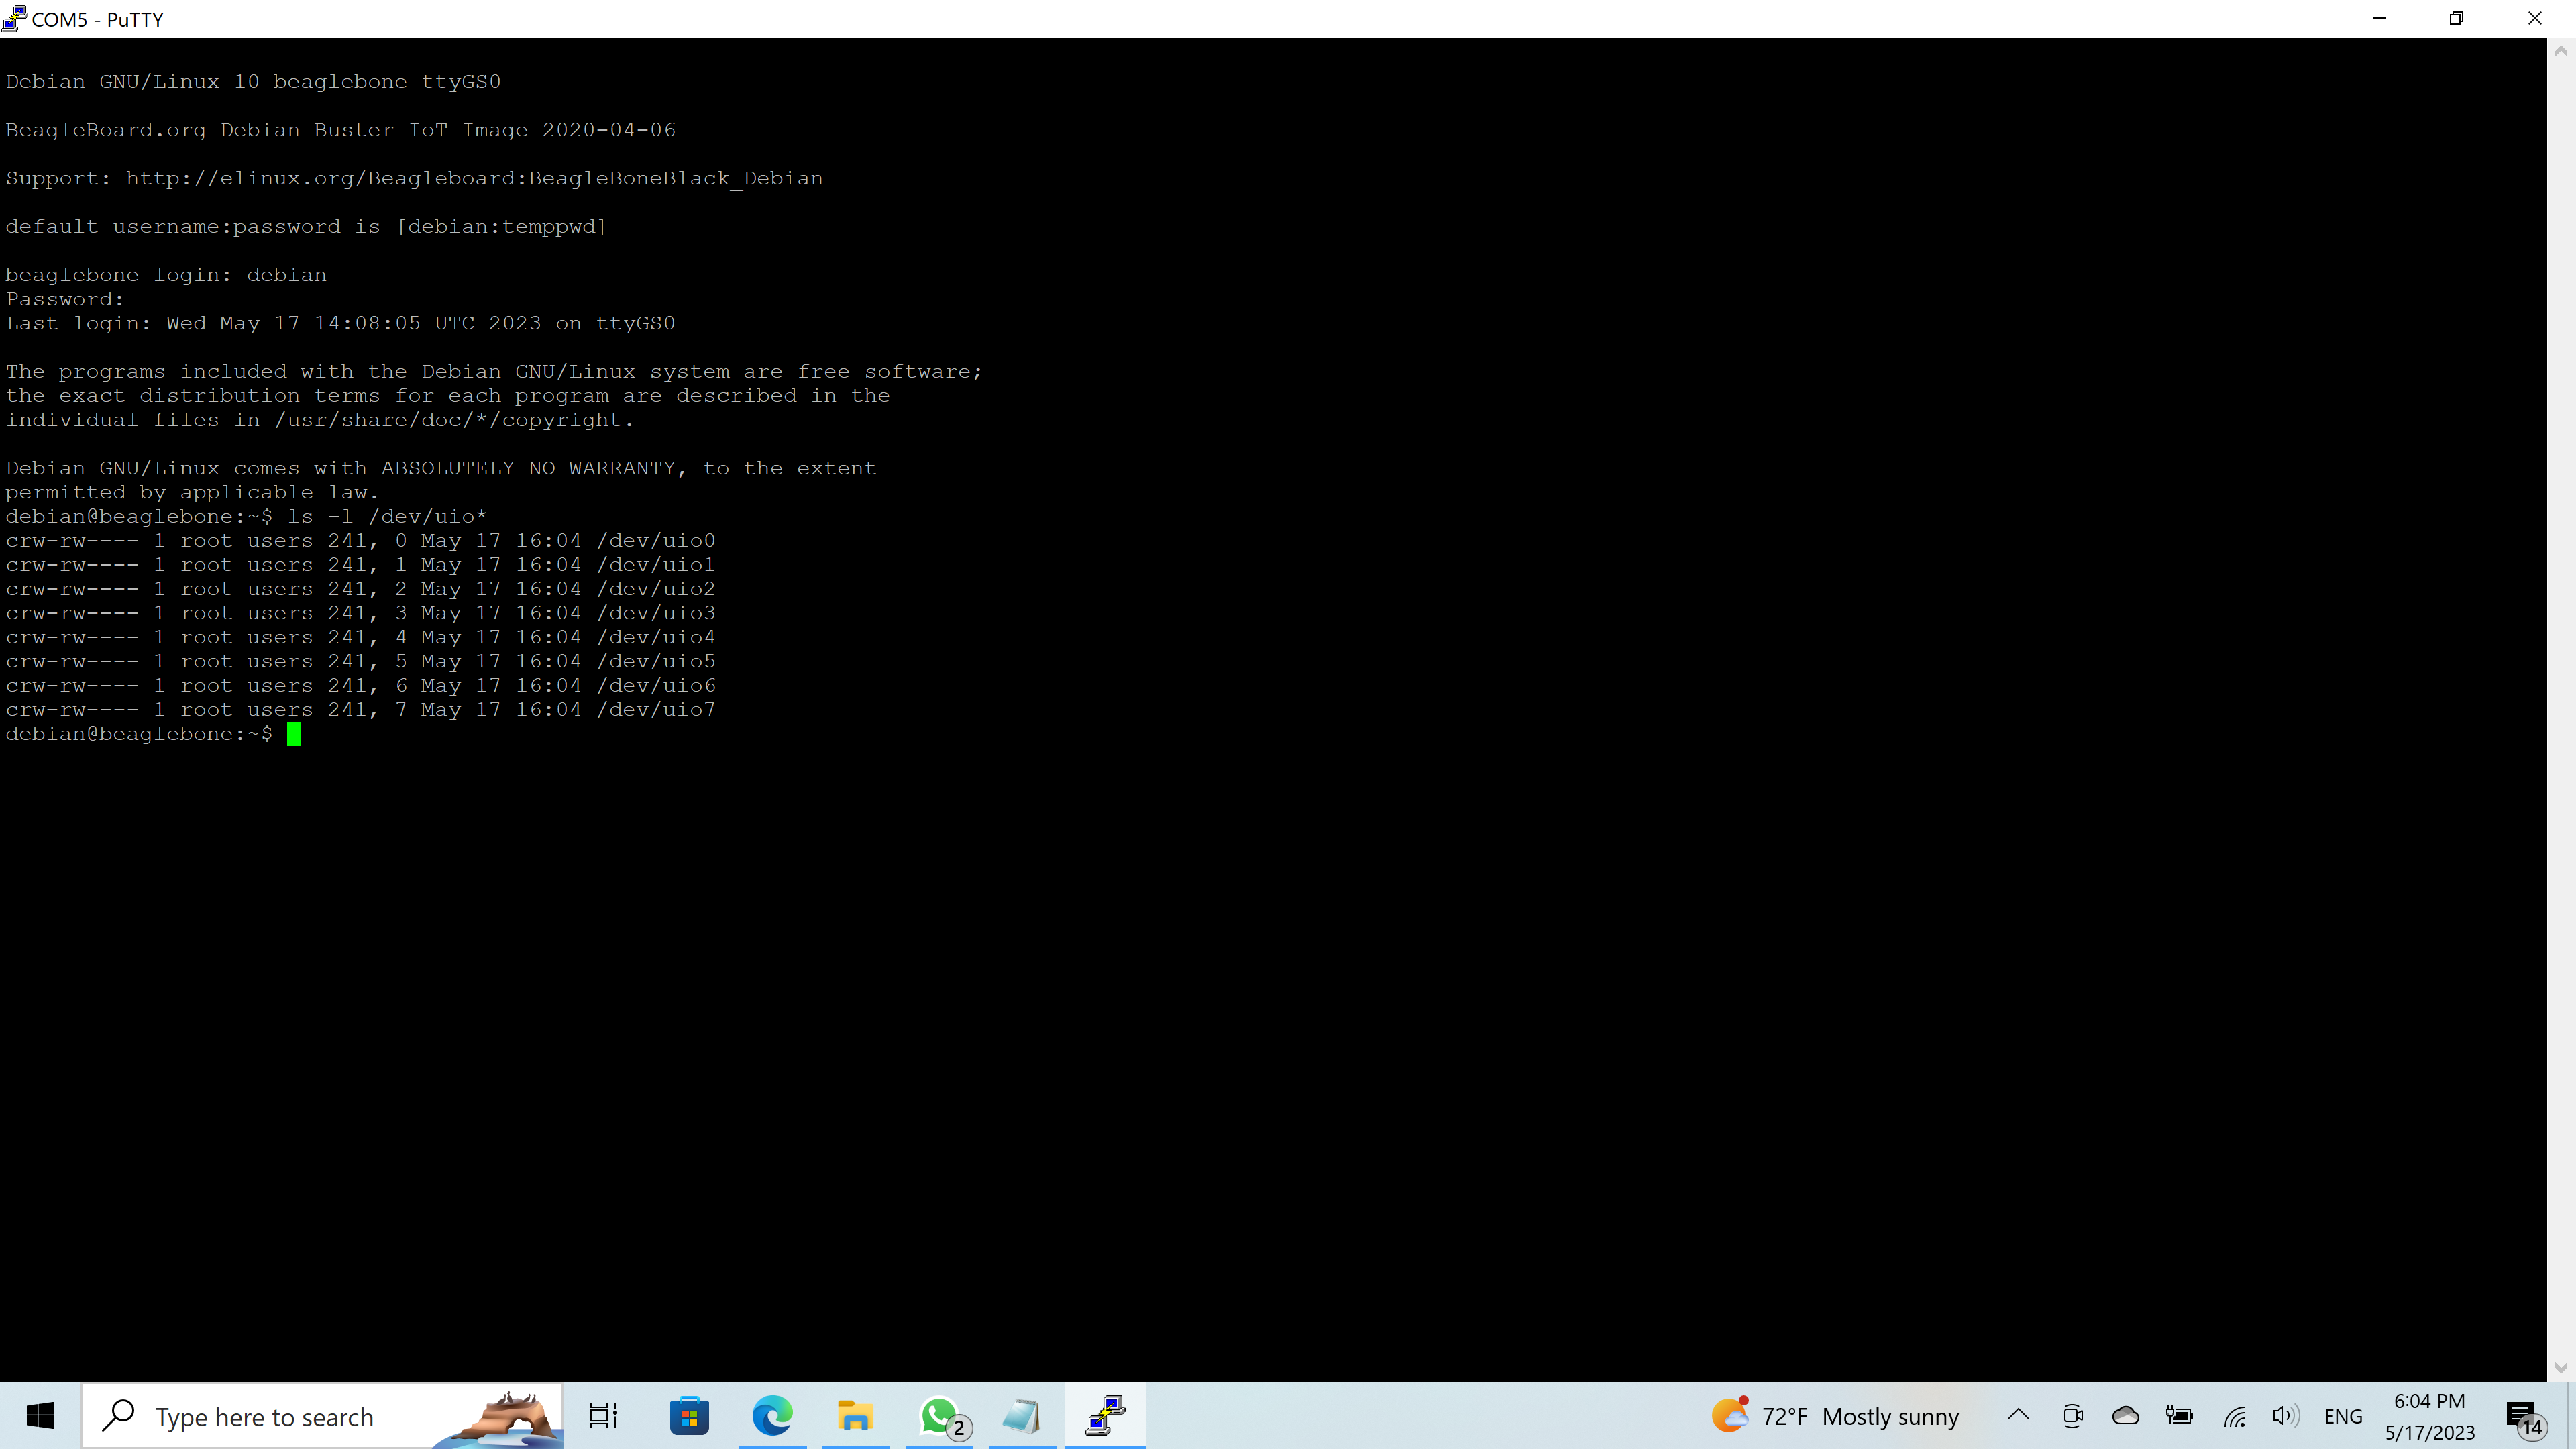
But more important: make the uio_pruss driver working! Your output from lsmod | grep uio is OK, but ls /dev/uio* must show 8 interrupt files [0-7], like
debian@beaglebone:$ ls -l /dev/uio*
crw-rw---- 1 root pruio 241, 0 Mai 16 20:51 /dev/uio0
crw-rw---- 1 root pruio 241, 1 Mai 16 20:51 /dev/uio1
crw-rw---- 1 root pruio 241, 2 Mai 16 20:51 /dev/uio2
crw-rw---- 1 root pruio 241, 3 Mai 16 20:51 /dev/uio3
crw-rw---- 1 root pruio 241, 4 Mai 16 20:51 /dev/uio4
crw-rw---- 1 root pruio 241, 5 Mai 16 20:51 /dev/uio5
crw-rw---- 1 root pruio 241, 6 Mai 16 20:51 /dev/uio6
crw-rw---- 1 root pruio 241, 7 Mai 16 20:51 /dev/uio7
First check if the right modules are loaded
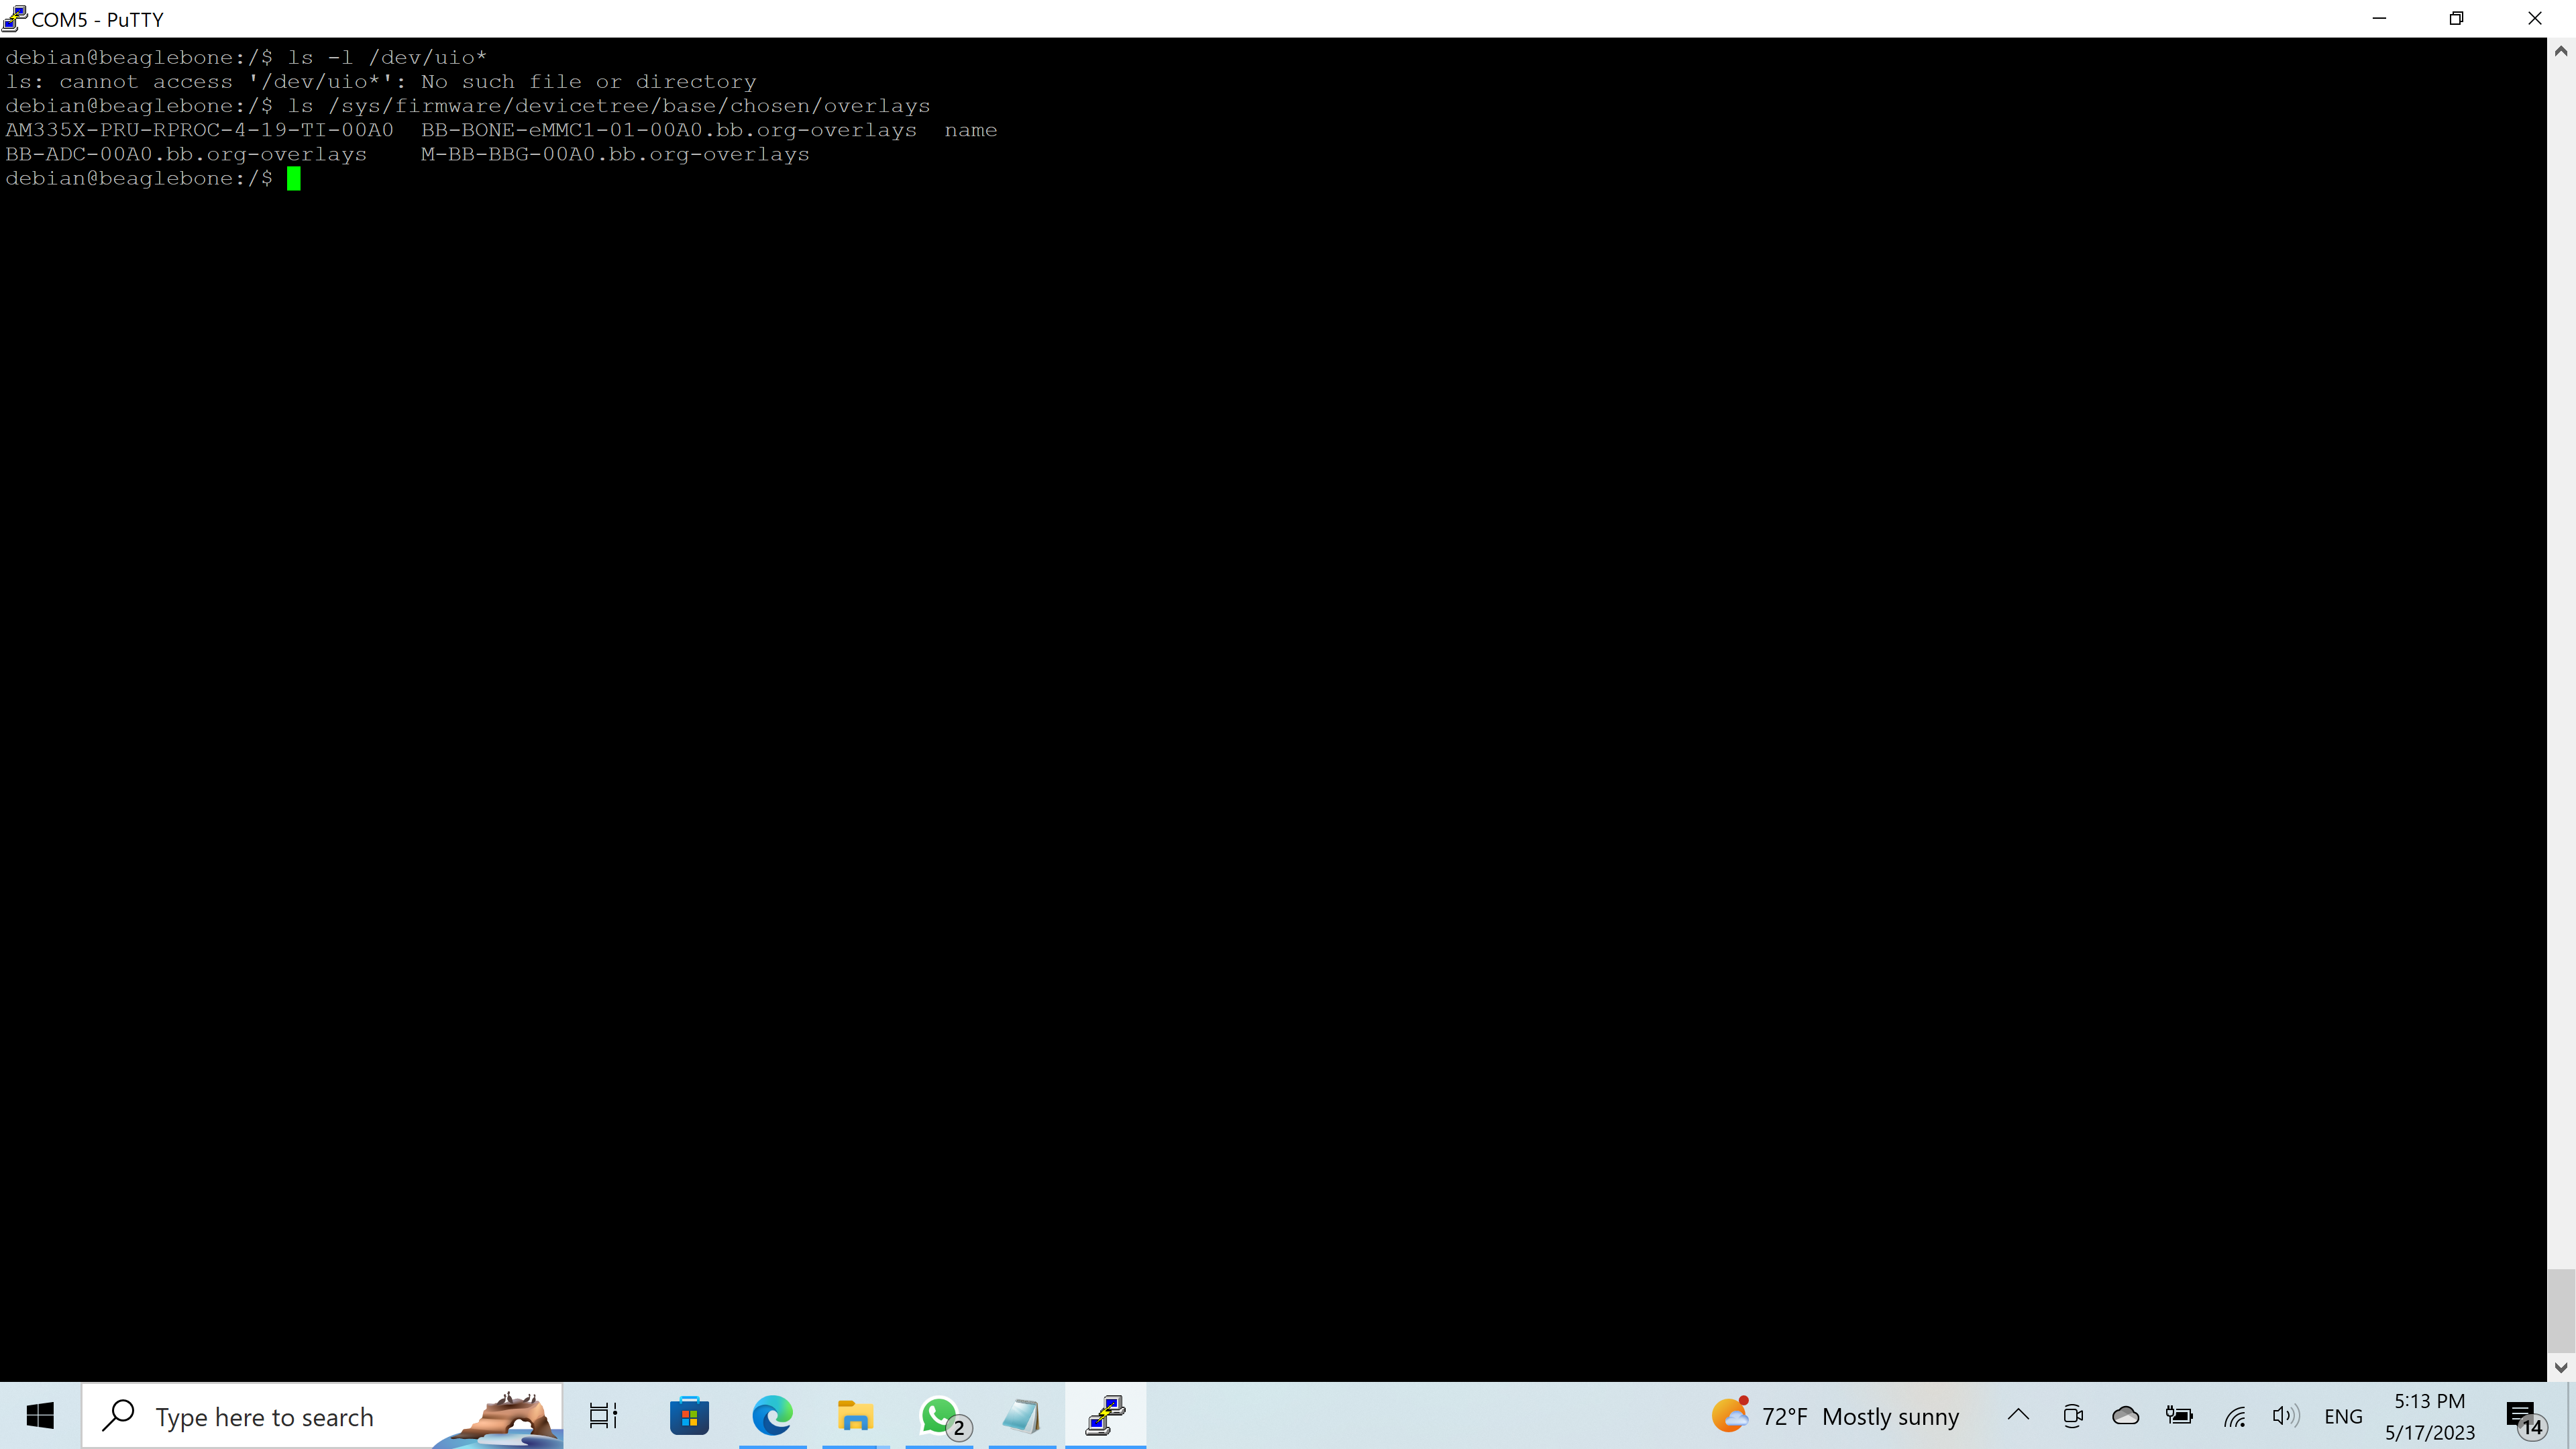
ls /sys/firmware/devicetree/base/chosen/overlays
Perhaps you’ve to blacklist the rproc driver … I don’t know.
Note: that’s not an libpruio issue. Instead it’s a LINUX-boot issue.
debian@beaglebone:/$ ls -l /dev/uio*
ls: cannot access ‘/dev/uio*’: No such file or directory
debian@beaglebone:/$ ls /sys/firmware/devicetree/base/chosen/overlays
AM335X-PRU-RPROC-4-19-TI-00A0 BB-BONE-eMMC1-01-00A0.bb.org-overlays name
BB-ADC-00A0.bb.org-overlays M-BB-BBG-00A0.bb.org-overlays
debian@beaglebone:/$
Some more input. There’re three oportunities for the lkm
RCN package
libpruio-lkm package
building from source
Add 1:
You already installed the RCN package, but it doesn’t load the lkm → either manually load the lkm (modprobe) or create a systemctl service that does this at boot-time (the uio_pruss driver must be active before the lkm taints the kernel)
Add 2:
When you install that package a new group gets created named pruio, the systemctl service gets installed and a dkms job cares about a binary up-date in case of a kernel up-date (dependency kernel headers get also installed).
Add 3:
You’ve to manually install the kernel headers package and then execute
make lkm
sudo make lkm-install
to get the steps from 2. In case of each kernel up-date you’ve to re-build / re-install the lkm again.