I just got a new gift in the mail of the Pocketbeagle Grove Kit from Seeed Studio through Digikey which I am excited to play with.
Although this information is available elsewhere, actually a variety of places elsewhere, I thought I would give back a little by doing a quick write up on my process of setting up a new pocketbeagle (PB).
First and foremost, do yourself a big favor and get Derek Molloy’s “Exploring Beaglebone.” Make sure you get the latest edition. As of this write-up, it’s the Second Edition.
Of course, most of this is also directly adaptable to the beaglebone black (BBB), but the BBB can have the image flashed to the chip and then your SD card can be set up as storage only. If I feel motivated this weekend, I’ll write that process up.
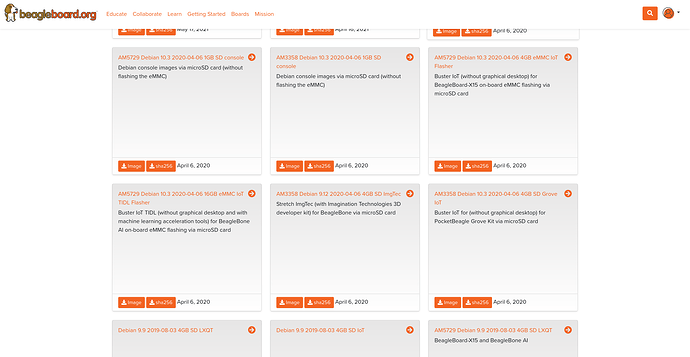
- Download the latest image from BeagleBoard.org - latest-images to your computer.
Unless you are doing something special, which would indicate you don’t need these instructions, use the recommended “Buster IoT (without graphical desktop)”.
Quick aside/Pet peeve: Please note that in writing the use of parenthetical expressions is only appropriate for the introduction of a new abbreviation as I used it above to indicate PB for a pocketbeagle and BBB for a beaglebone black. In all other cases it is simply an indication that the writer is too lazy to form a correct sentence or phrase. It’s use in the descriptions on the latest images page actually serves no useful purpose whatsoever as the statement is wholly correct without their inclusion. If you are a young engineer or scientist eliminate this poor use of the English language, or feel free to keep using emoji’s in your professional work. Your bosses and customers will love your smiley faces.
-
Format a 32 GB SDcard as FAT32. Use a high quality card. You can use as small as a 8GB, but use a 32GB, and you’ll see why soon. No, you can not use a 64GB. 32GB is the maximum size.
-
Transfer the image from your computer to the SD card using Win32 disk imager, Balena Etcher, or similar. I like Win32, but I think Balena is the easiest to use.
balenaEtcher - Flash OS images to SD cards & USB drives -
Insert the SD card into the PB and plug the PB into your computer with the usb cable. Give it a couple minutes to boot.
-
If using a Windows 10 PC:
Settings >> Network & Internet >> Change adapter optionsName your pocketbeagle whatever you would like. I suggest using something systematic. For
example: PJB-PB-01 which is my initials followed by the type of sbc followed by it’s numberRight click your network source >> Properties >> Sharing tab >> check Allow… >> Select what to
share it with >> OK
If you have already shared this to a device previously, you’ll want to unclick the share and hit ok, then
do the share.Right click on your newly named pocketbeagle >> Properties
double click Internet Protocol Version 4 (TCP/IPv4)
click Obtain an IP address automatically & Obtain DNS server automatically
OK -
Open your web browser and got to 192.168.7.2
-
Switch to root user:
su root
root (default root pw)
Please note: There are consequences when making mistakes as the root user and in general it is not
recommended, but at this stage of the game there isn’t much risk as we can just start over if
needed. -
Establish interconnection with the PB
/sbin/route add default gw 192.168.7.1
echo “nameserver 8.8.8.8” >> /etc/resolv.conf
ping www.google.com
If its connected correctly you’ll see it repeatedly send 64 byte packets up to the website and report
the roundtrip time.
ctrl+C to stop.
Every time you reboot the PB you will have to redo this step. -
apt update
-
apt upgrade
-
Reboot - give it a couple minutes
-
Steps 7 & 8 again
-
cd /opt/scripts/tools
git pull || true -
/opt/scripts/tools/update_kernel.sh You will need to enter a Y for yes at some during this operation.
-
Reboot
-
Steps 7 & 8 again
-
cd /opt/scripts/tools/
./grow_partition.sh This expands the SDcard available space to the PB -
Reboot
Your PB is now ready to conquer the world.
Good luck and have fun!
