JupyterLab is the latest web-based interactive development environment for notebooks, code, and data. As an engineer working with data from various sources, I always use Jupyter Lab Notebooks all the time on my laptop for plotting, analysis, processing, and Inference. It’s also not that hard to do it on a BeagleBone. Follow the steps below to get it running on your BeagleBone hardware today. It’s recommended to use the newest image with v5.10 kernel to get the best results.
- Connect your BeagleBone with a USB cable to your Laptop/PC and wait for it to boot properly.
- If you are running the latest image with v5.10 kernel (Debian Bullseye) go to http://192.168.7.2:3000/ and open up a terminal on bb-code-server.
- If that doesn’t work, just login to your BeagleBone hardware over ssh,
$ ssh debian@192.168.7.2 - Install Jupyter lab on Beaglebone hardware
$ sudo apt update $ pip3 install jupyterlab $ sudo reboot - To save computation power, disable the bb-code-server (if running),
$ sudo systemctl disable bb-code-server - Connect over ssh with address
8888:localhost:8888$ ssh -L 8888:localhost:8888 debian@192.168.7.2 - Start Jupyter lab
$ jupyter lab - Copy the link from the output of above command and paste it in a browser window of your Laptop/PC. The link will be something like
http://localhost:8888/lab?token=0279...bglbrdwhich will open up the Jupyter Lab, which will look like the image shown below.
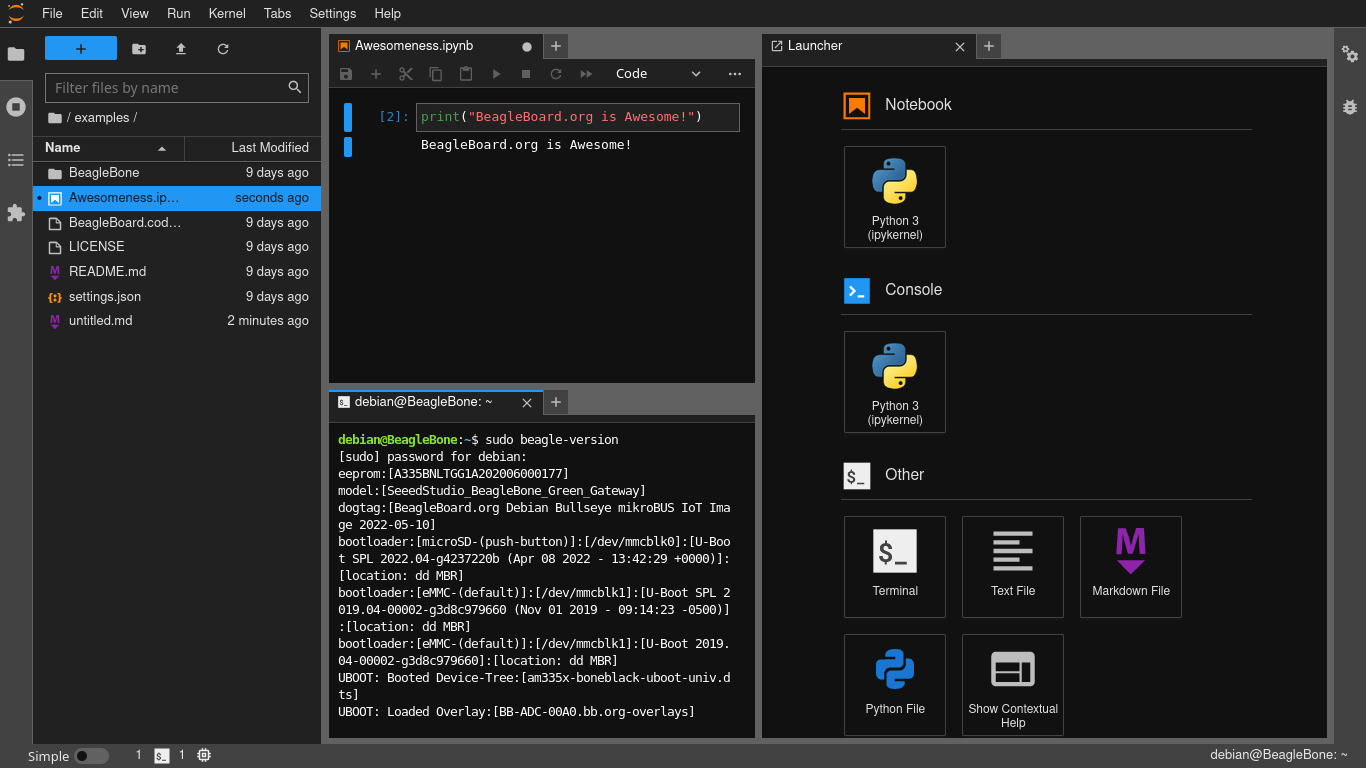
Congratulations! You are running a Jupyter Lab instance on your BeagleBone hardware.